Installing a new metal framed garden/ side gate is usually more straight forward than expected, and most can be carried out by competent DIYers. The main issue that needs to be checked is ensuring the right size gate width/ height has been ordered.
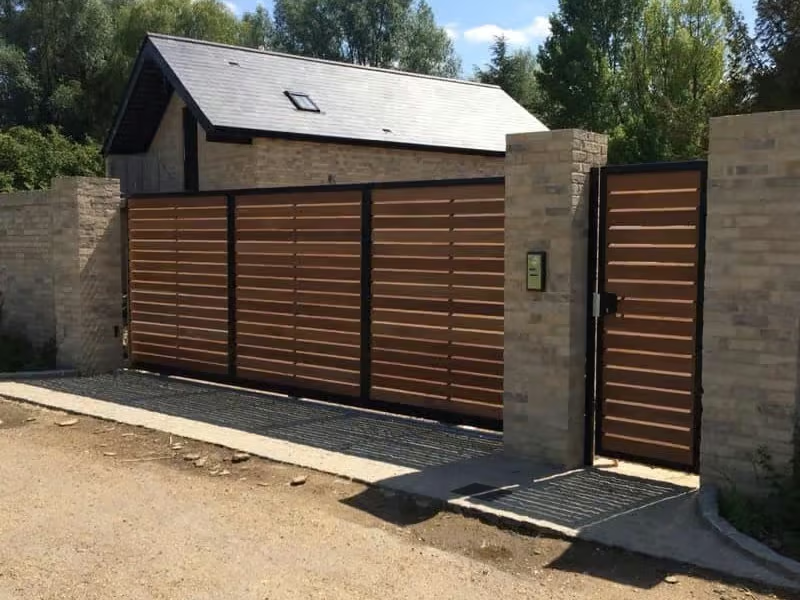
As standard, over 90% of metal framed garden/ side gates are installed using the below example:

Tools:
- Spirit Level
- Hammer Drill
- Hammer
- Spanner
- Screwdriver
- Pencil
- Tape Measure
Fixing to Existing Pillar or Wall: As standard (if no posts are selected on order), you will receive 2 x hinge plates along with 2 x adjustable bolts that connects the gate to the plate. If purchasing posts, lugs will be fitted to one post with the closing latch built in to the other post.
- First, a clearance is required between ground level and the bottom edge of gate. We recommend allowing 50mm (or 2″) on a level pathway although this may need to be increased if the path rises towards the property.
- Next, the hinge plates. These have to go on the internal face of the pillar/ wall (as shown above). It is crucial you check the structural quality of the pillar/ wall to ensure the structure is capable of holding the weight of the gate.
- Remove one of the nuts off the adjustable bolts. Place the bolt through the bottom eye hole on gate (1).
- Take a measurement from bottom of bolt eye to ground level (2). Add an additional 50mm to this measurement (for bottom gate clearance).

Now to position the first bottom hinge plate.
- Height (a): Use the point of the hinge plate as shown below on figure 3 to mark width. Take the measurement (as shown in figure 2) and add ground clearance (50mm). Mark a line on the top of the hinge plate.
- Width (b): Come in from the edge of the pillar by 25mm to 50mm. You need this clearance to protect the pillars corner when drilling a hole. Mark one vertical side of the hinge plate.

As we don’t know what material customers are fixing the hinge plates to, we do not supply fixings for them. If into a solid pillar or wall, we would recommend Dewalt Hex Head Blue-Tip Screwbolts – 6 x 100mm. Please note: It is crucial to use the correct fixings due to weight of gate. If unsure, seek professional advice.
- Use a spirit level to ensure hinge plate is level. Mark holes for hinge plate. Using a corded drill, drill holes and secure hinge plate to wall.
- Next, we need to mark the position for the top hinge plate. Connect the adjustable bolt to the bottom eye on the gate. Allow some room by moving nut approx 50mm (5). Repeat for the top eye.
- Place the gate on the bottom hinge (6). To make it easier, place a timber packer under the bottom edge of gate to help support weight whilst getting position.

Marking the top hinge plate.
- First, we need to get the height position of the hinge. With the adjustable bolt connected to the top gate eye, place the gate upright to the pillar and hold in place. Second person, with the hinge plate in their hand, place hinge plate on to the adjustable bolt. Mark the lower edge of hinge plate (7).
- With a spirit level, line up the top hinge plate with the bottom hinge plate (8).

- Remove gate and fix top hinge to pillar.
- Repeat above process for the other gate.
- Adjust the side gaps by altering the two nuts on the adjustable bolt.
- Close gate, mark position of the catch (for the handle lock) and fix.