There are various set-ups you can choose when installing sliding gates. From years of experience and research, we recommend using this system for stability, ease and appearance. This works for both wooden and wrought iron/ metal sliding gates and will support all widths and heights. The main advantage with this is that it eliminates any additional on site welding or fabrication as all parts required are supplied (either with or without a purchase of a gate).
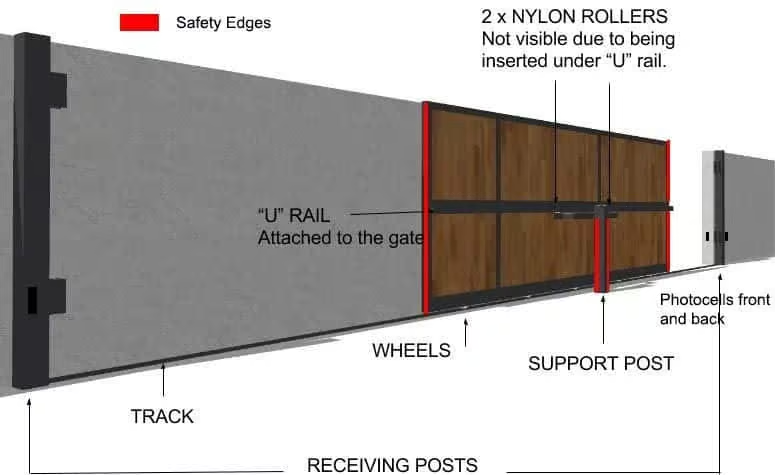
IMPORTANT: Every sliding gate install needs SAFETY EDGES where entrapment could occur. This is not included in our kits but can be added.
HOW TO FIT SLIDING GATES:
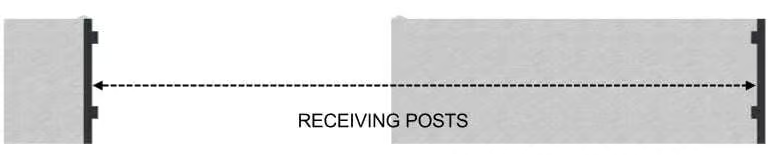
So, lets look at the basics of the installation. First of all, when setting out for a sliding gate, ensure you have sufficient space. For an average size opening of 10ft (3m 058mm), you would need to allow an additional 800mm (overhang on gate) and 100mm for receiving post plus the 3m 048mm – therefore, at least 3m 958mm to either the left or right side of drive. However, for larger openings (of say 6m), you will need to allow an overhang of approx 1.6m.

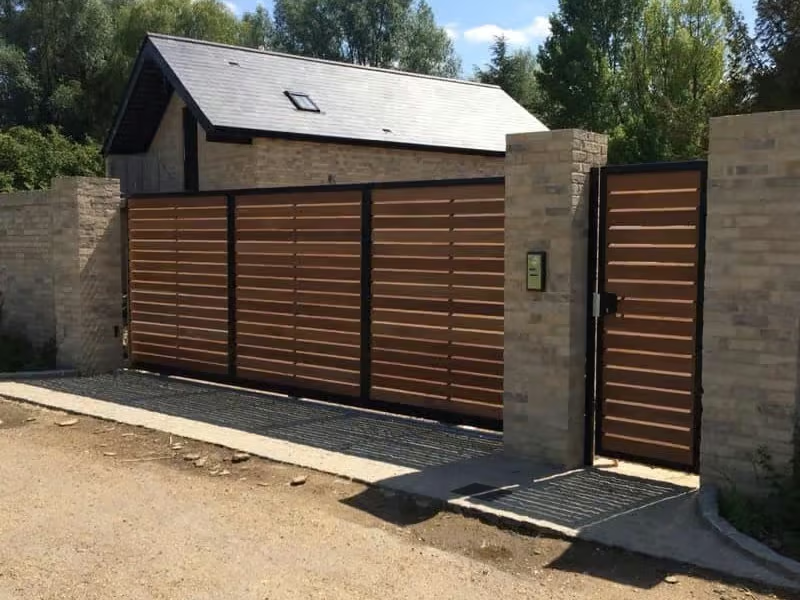
Second, most sliding gates actually come in two sections. These are bolted together on site. One side of the gate will just look like half a gate and the other side will include the overhang. With wrought iron gates, they are designed so that once in the closed position, from the front, they look as a standard gate where all frame edge etc is visible.
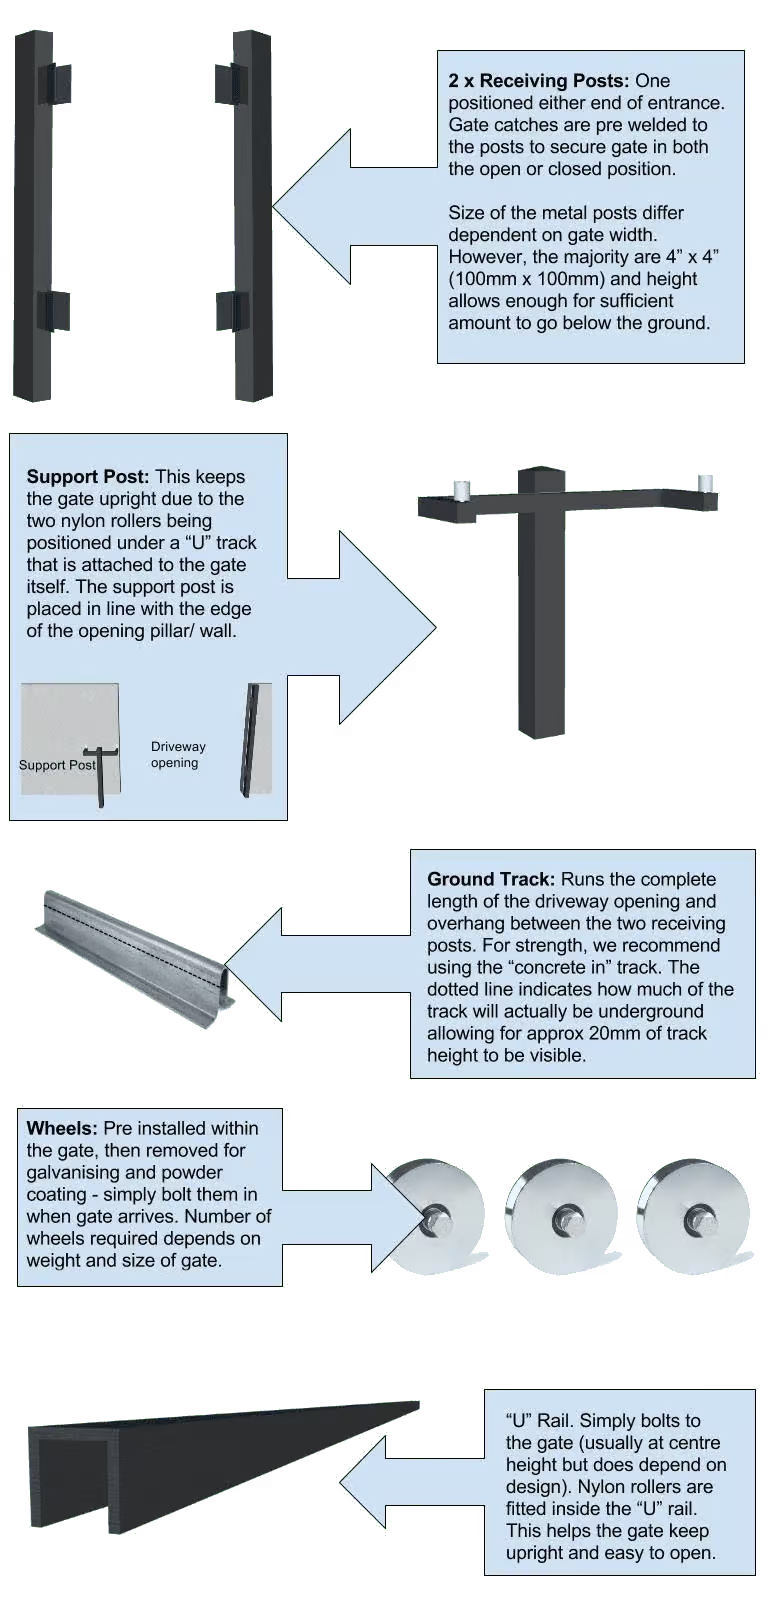
You will receive 2 x metal receiving posts. Both will be long enough to allow for underground fitment. They will also have pre-fabricated gate catches on (2 per post). These are set approx 150mm down from top of post and 300mm up from ground level and for most sliding gates, 100mm x 100mm posts are used. One to be positioned so that the post edge is inline with the edge of the existing pillar/ wall and the other at the end of the allocated space.
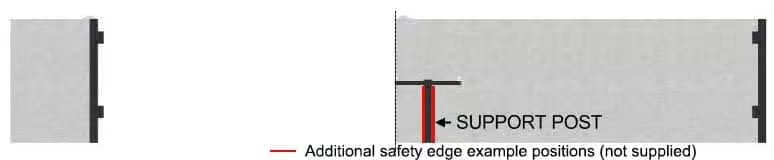
The support post. Again to be set in the ground. Position the support post so that the arm (with the nylon roller) is inline with the edge of the pillar/ wall. The nylon rollers (attached to the support post) will then be set within the “U” rail thats attached to the sliding gate. This ensures the gate stay upright and opens/ closes with ease. Safety edges needs to be fitted either side of the support post as this is an entrapment area.
The track. We recommend (and only supply) the in ground track therefore, concrete (or similar) will need to be used. The length will be driveway opening width (x2) plus overhang of gate. Approx 20mm of track height will be visible. For ease of opening and closing, install the track as level as possible.