
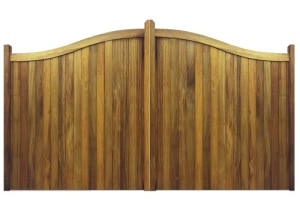
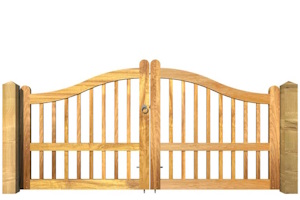
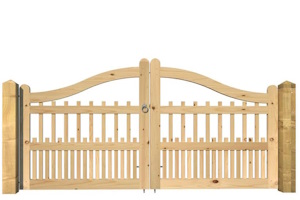

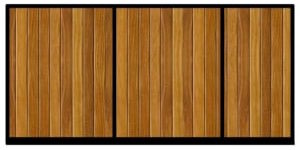

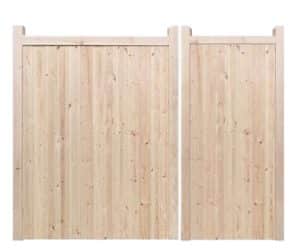
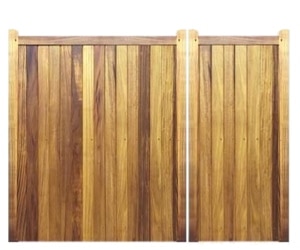
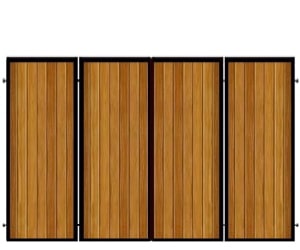
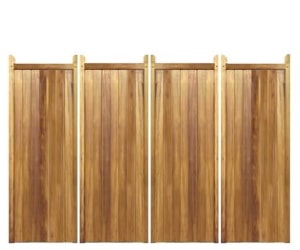
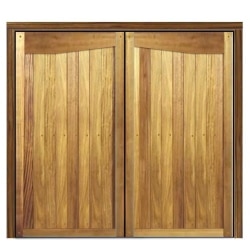

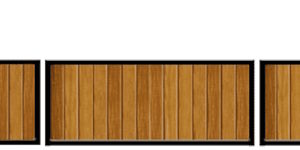
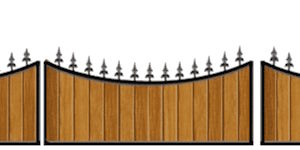
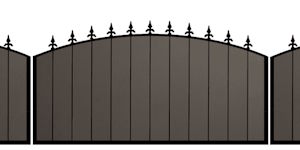

HOW TO MEASURE FOR WOODEN 3/4 SPLIT GATES:
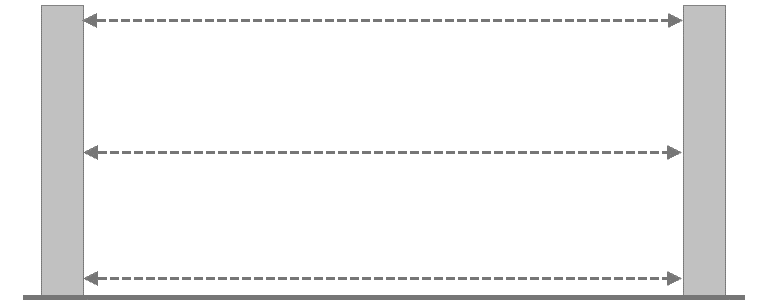
Calculating gate width with existing pillars or posts in place.
Take THREE measurements between the pillars/ posts. Across the top, middle and bottom. Make a note of the SMALLEST measurement.
To determine what clearance is needed to calculate gate width, you must decide how the gate will open. The first example is by far the most popular set up.
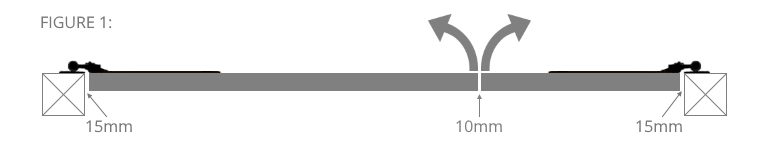
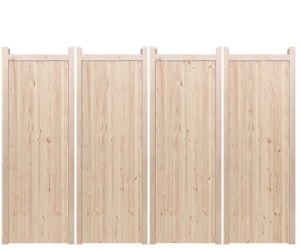
FIGURE 1: (most popular set up)
Gates to open towards driveway. Hinge plates mounted to rear face of post/ pillar. Back edge of gate sits flush with the back edge of post/ pillar.
REDUCE 40mm (approx. 1.5″) from your lowest measurement.
Please note: Example shows smaller gate to the right side but this can be either side. Simply select the size from the drop down area on the gate design you have chosen.
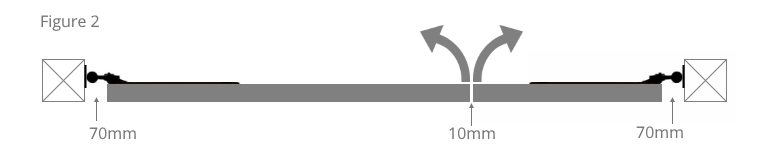
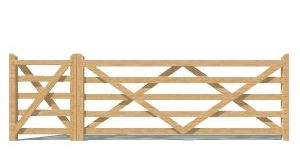
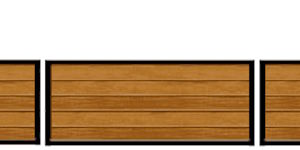
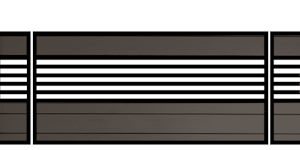
FIGURE 2:
Gates to open towards driveway. Hinge plates mounted to inside face of post/ pillar. Front edge of gate sits flush with the front edge of post/ pillar.
REDUCE 150mm (6″) from your lowest measurement.
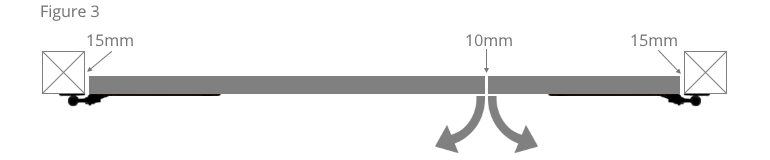
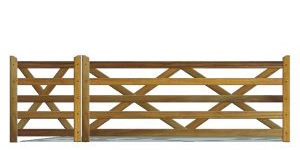
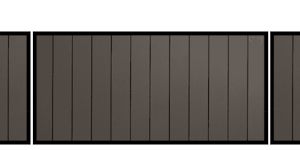
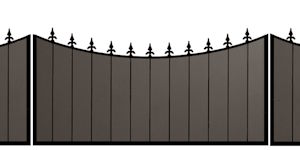
FIGURE 3:
Gates to open outwards toward roadside. Hinge plates mounted to outside front face of post/ pillar. Front edge of gate sits flush with the front edge of post/ pillar. This is a good set up to do if your driveway space is limited. If your gate opens over a public footpath, please check with your local council if permission is required.
REDUCE 40mm (1.5″) from your lowest measurement.
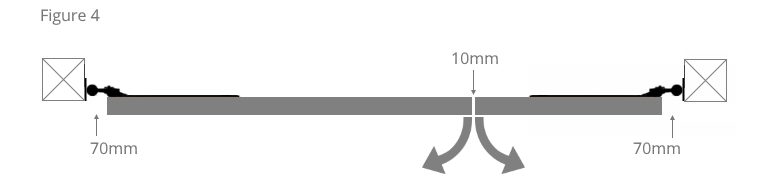
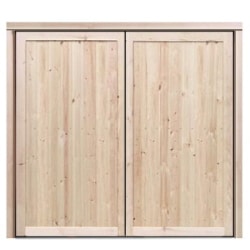
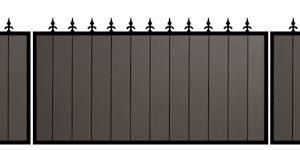
FIGURE 4:
Gates to open outwards toward roadside. Hinge plates mounted to side face of post/ pillar. Back edge of gate sits flush with the front edge of post/ pillar. This is a good set up to do if your driveway space is limited. If your gate opens over a public footpath, please check with your local council if permission is required.
REDUCE 150mm (6″) from your lowest measurement.