


HOW TO FIT SOFTWOOD/ HARDWOOD GARDEN AND SIDE GATES:
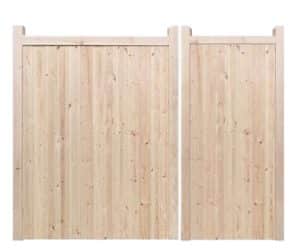
INSTALL GARDEN OR SIDE GATES
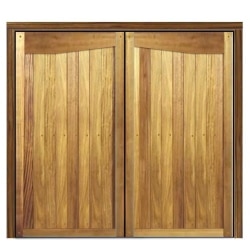
A Wooden Gate can greatly enhance the appearance of your home. Once the hinges have been attached, your gate is ready to be hung. Proper installation will ensure that the Gate swings open and shut without a hitch and remains tightly closed when not in use. A smooth operation also will ensure less wear on your hinges and a longer life for your gate. Installation of the gate should take about an hour for a first-time installer.
Tools:
- Pencil
- Ruler or straight edge
- Tape measure
- Spirit level or plumb line
- Drill
- Screwdriver or cordless screwdriver
- Hacksaw or Angle Grinder (needed if adjustment to opening latch required)
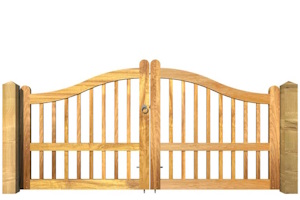
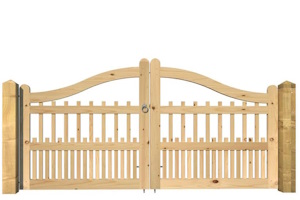
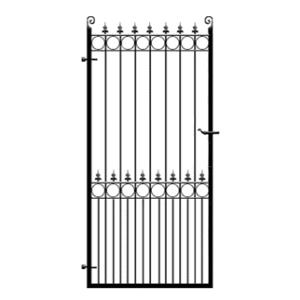
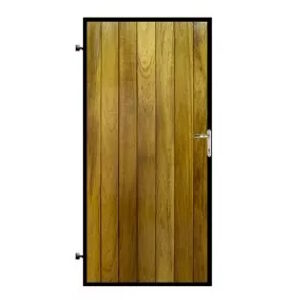
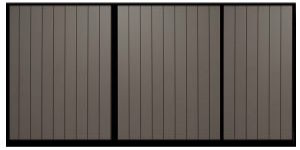
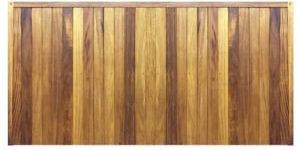
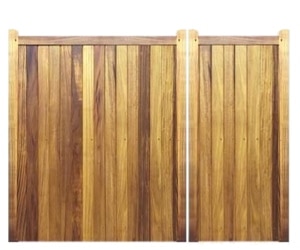
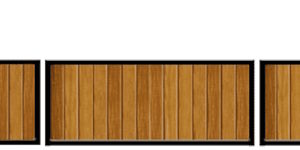
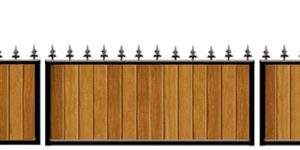
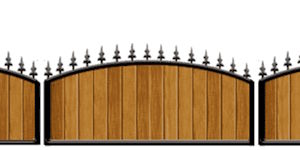
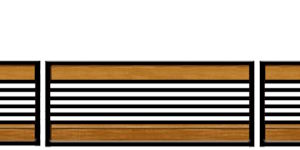
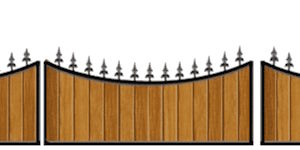
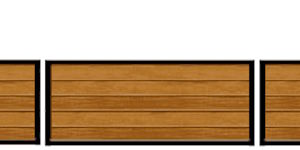
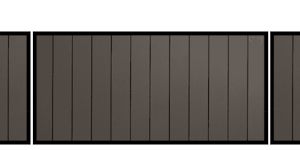
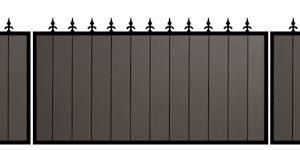
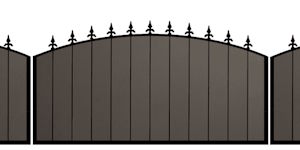
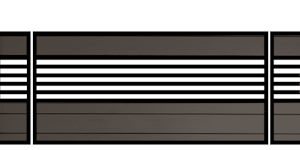
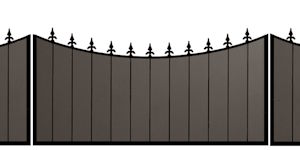
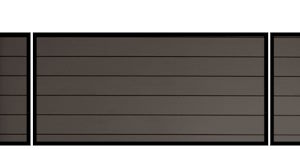
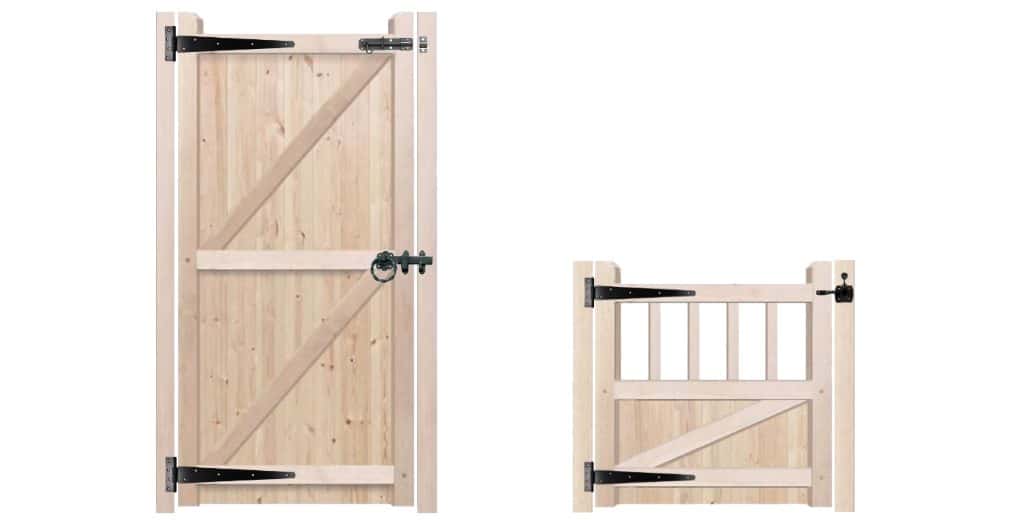
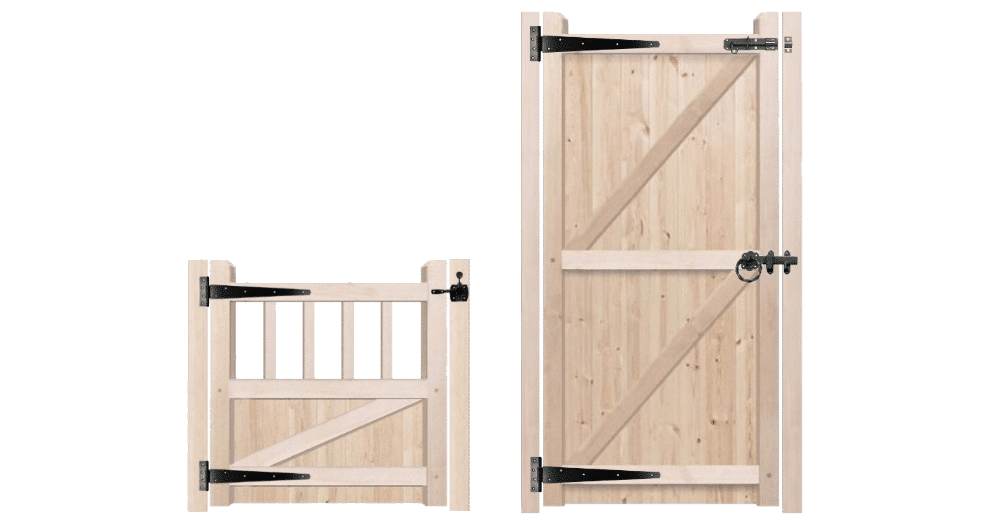
Gate Bracing
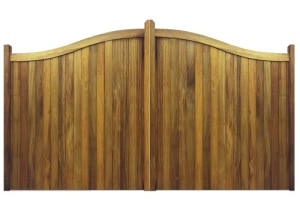
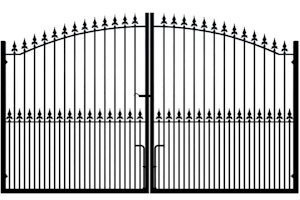
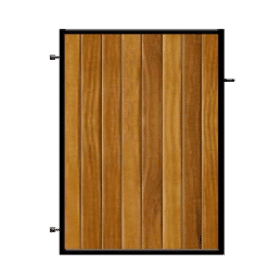
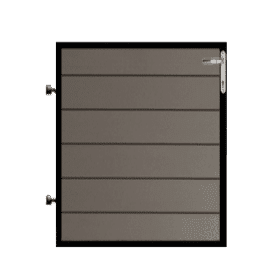
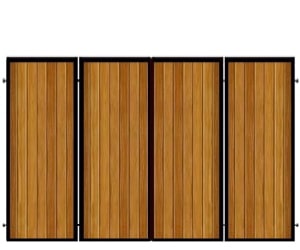
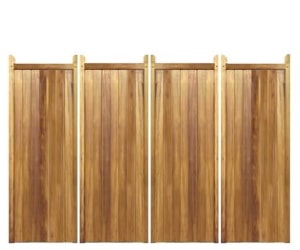
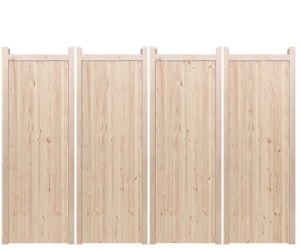
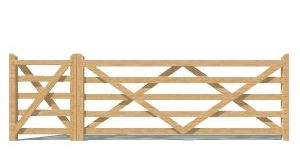
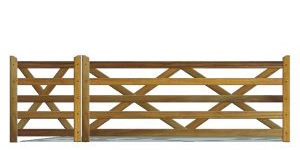
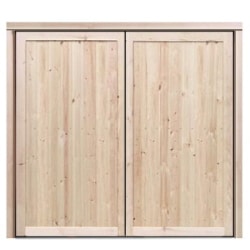
On the rear of the gate you will see the structural bracing required to support the weight of your new gate. It is crucial that the gate is hinged on the correct size (this is why we ask if the hinges are left or right side from rear). Below is an example of a side and garden gate with correct fitting.
INSTRUCTIONS ON FITTING THE GATE
First, ensure the mounting post or pillar is strong enough to with-hold the weight of the gate. If the old post shows signs of rot, replace it.
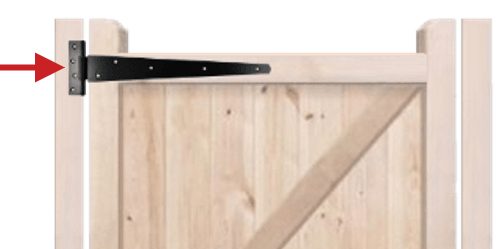
Next, fit the hinges to the gate. This will be on the top and bottom horizontal brace. For those who are having the hinges placed on the front of gate, make sure you fix the hinge to where the brace lands behind. Place hinges on, mark holes, remove hinge, drill pilot holes (3mm drill bit) then attach hinge with screws. For appearance, take time to centralise the hinge on the brace.
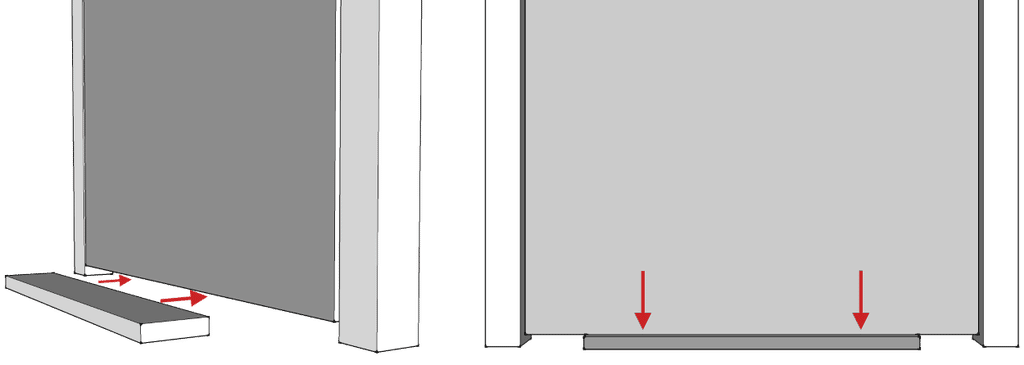
Put the gate between your opening. Ideally the gap should be 10mm per side (1/3″). This can be increased but should not be reduced as the gate can swell during the seasons and prevent easy opening and closing. Once checked, remove gate from opening.
Ground clearance to the bottom edge of gate should be 25mm (1″). This is to allow small stones and build up of leaves etc to freely pass underneath. This may need to be increased if the path inclines. With timber or spacers of 25mm in height, place gate back in the opening with the packer under.
Ensure the gap between the mounting post and edge of gate is 10mm and mark the position of the top and bottom hinge on mounting post.
Remove gate and drill pilot holes. With two people, put the gate back on the packer and fit hinges to mounting posts. At this stage just use two screws per hinge so that you can check the gate swings freely before fixing the rest of the screws. Once done, remove bottom packer.
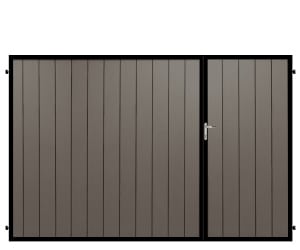
GATE FURNITURE FIXING
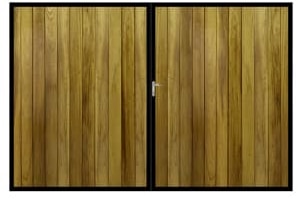
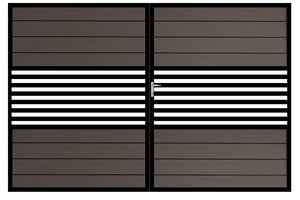
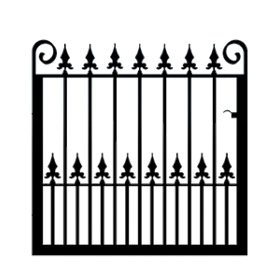
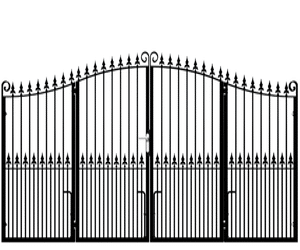
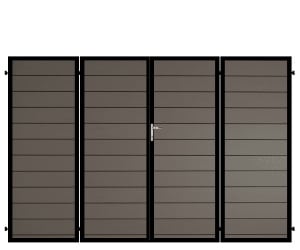
Closing latch or ring latch. For smaller garden gates use a closing latch. Larger side gates use a ring latch. (Image below has a closing latch on left side with a ring latch on right side).
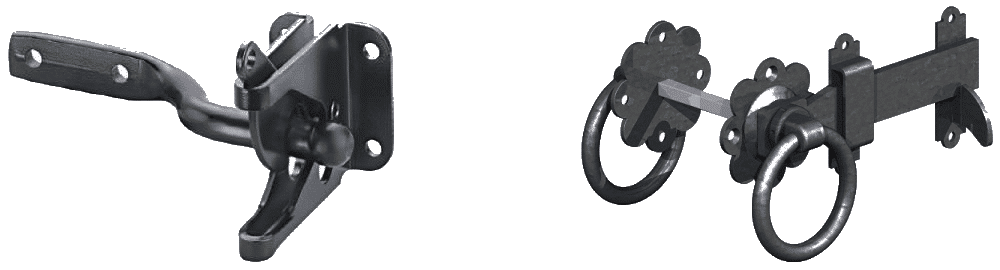
Latch position is up to the individual but we would recommend top for a garden gate and centre for side gate.
OPENING LATCH
For garden gates – comes in two pieces. One bar that attaches to the gate and the latch to the post. Position bar to gate (again, for looks try to centralise it). Mark holes, remove, drill pilot holes and screw.
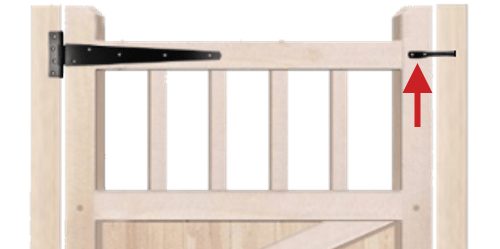
With the gate in the closed position, place the latch under the bar to check for position, mark holes, remove, drill pilot holes then attach with screws to post. Check the gate opens and closes securely. If needed adjust.
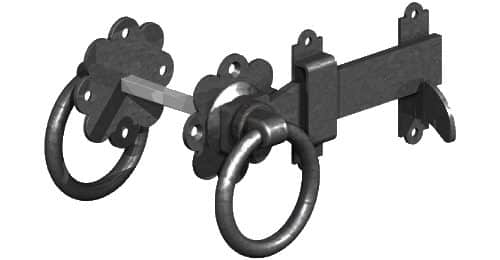
RING LATCH
Comes in five pieces. Ring latch with connected rectangle bar, ring latch, 2 x bar catches and stainless steel bar. If looking at the rear of the gate, if the gate opens inwards towards you the ring latch with the rectangle bar would be on the rear of the gate, if the gate opens away from you, fit to front of gate.
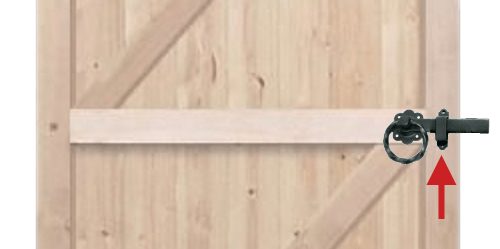
Place ring latch on brace allowing the rectangle bar to protrude 50mm from the edge of the gate.
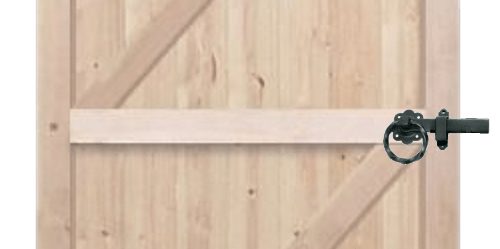
Mark holes, remove and drill pilot holes. Now you should have 4 holes. Take a ruler and draw a cross to get the centre of the area. This is where the stainless steel bar will connect to the ring latch (on both sides). Carefully drill a pilot hole all the way through the gate. Measure the thickness of the stainless steel bar and take a drill bit larger so that you create a hole for the bar to be able to turn freely. Screw the ring latch to the gate and place the bar in.
Next, slide the holding catch over the rectangle bar (as below), mark, remove, drill pilot holes and fix.
Go to the other side of the gate. Connect ring latch to stainless steel bar, mark holes, remove, drill pilot holes then screw
Close the gate. Position the catch on the post for the ring latch to close on to (as below). Mark holes, remove, drill pilot holes and screw to post.
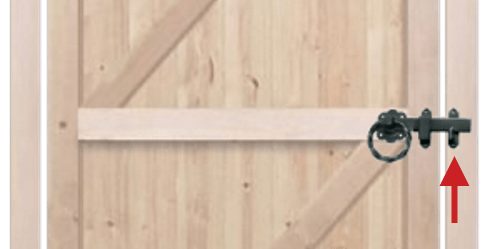
Check that the gate opens and securely closes.
That’s it! Your new gate should be fitted.