HOW TO FIT METAL DRIVEWAY GATES:

Installing a new metal driveway gate is usually more straight forward than expected, and most can be carried out by competent  DIYers. The main issue that needs to be checked is ensuring the right size gate width/ height has been ordered.

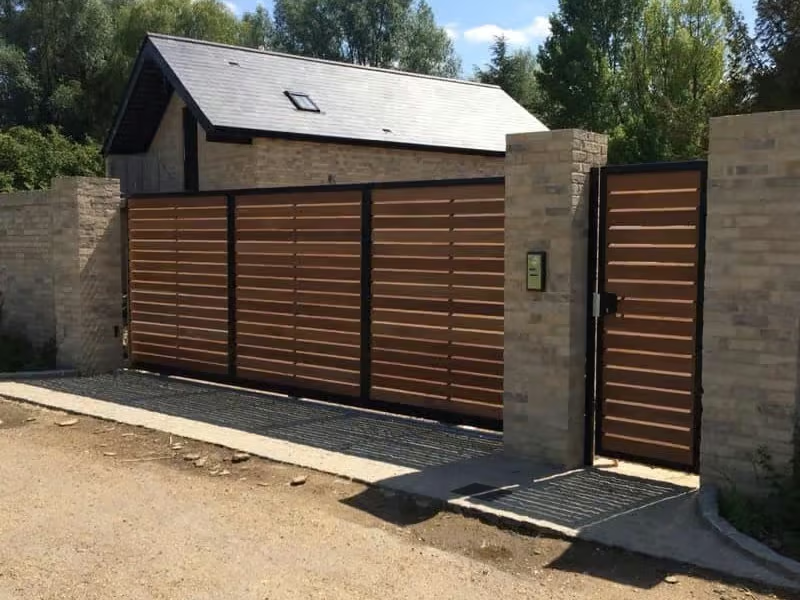
As standard, over 90% of wrought iron driveway gates are installed using the below example:

Fitting metal driveway gates

Tools:

  • Spirit Level
  • Hammer Drill
  • Hammer
  • Spanner
  • Screwdriver
  • Pencil
  • Tape Measure
  • First, a clearance is required between ground level and the bottom edge of gate. We recommend allowing 50mm (or 2″) on a level drive although this may need to be increased if the driveway raises.The easiest way to do this is by using a straight edge and a level.
  • Next depends on whether there are posts/ pillars in place or not. If you need to fit posts, see “How to Fit Posts” for more info.

On existing pillars or posts: As standard (if no posts are selected on order), you will receive 4 x hinge plates along with 4 x adjustable bolts that connects the gate to the plate.

installing-a-metal-driveway-gates
  • Use one side of the gate and position it onto the straight edge. Put the silver threaded bar through the top (pre-drilled) hole of gate frame (before this, make sure you remove one of the nuts off the threaded bar.)
  • Connect the bar to the hinge plate and mark the pillar/ post where the hinge plate needs to be mounted.

Repeat this process for the bottom hinge plate but using a spirit level to ensure the gate is plumb then move on to opposite side. This stage needs to be accurate so spend time to get it right!

  • Using a hammer drill, drill the holes. Insert the wall plugs until they are flush with the surface. Fix the 4 hinge plates to the posts/ pillars.
  • Connect the four threaded bars to the gate frame and hang. Using the nuts, adjust until the centre opening gap is approx 10mm. By adjusting either the top or bottom you can get the gates to be level with each other.
  • Once complete, put the gates into the closed position and release the two drop bolts (pre attached to gate) and mark the ground. Then, fully open the gates and mark where the drop bolts hit the ground. When happy with the position, drill the four holes. This will allow the gate to be secured in place if open or closed.

Handy Tip: If you find when closing the gates the centre of the two is not flush from top to bottom (which can be caused by the posts being slightly out of level, or a slight twist in the frame) then you can force the gate to twist until it becomes right. Using two people, one holds a certain area whilst the other person can pull or push it. Straps can also be used to achieve the same result (always ensuring it is safe to do so and the posts are firmly fixed into the ground).