
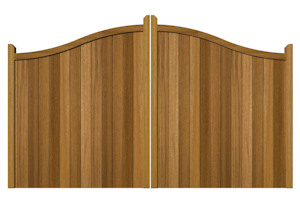
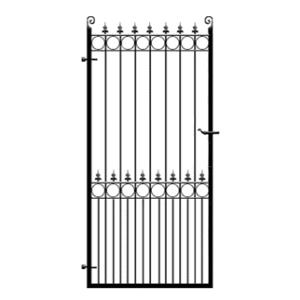
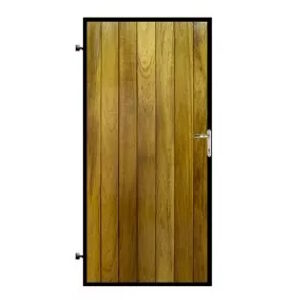

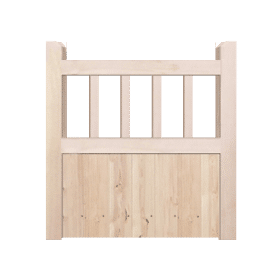
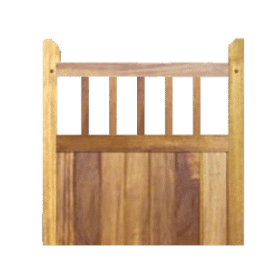
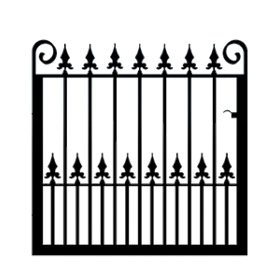


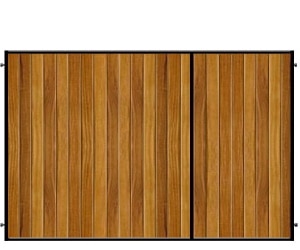
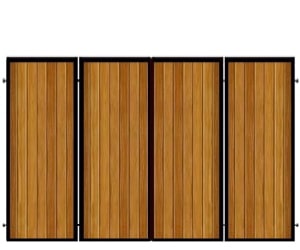

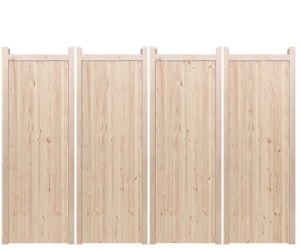


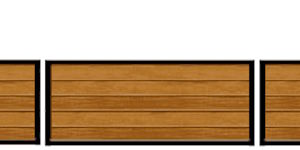

HOW TO FIT SOFTWOOD/ HARDWOOD DRIVEWAY GATES:
INSTALL A DRIVEWAY GATE
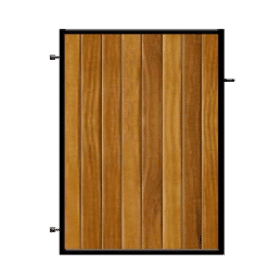
Driveway gates add security and style to the front of your home. They prevent unannounced visitors from entering your property easily. Gates can either have electronic openers or be manually operated, depending on your preference. When coupled with a fence, you create a protected space for children and pets that extends beyond the limitations of your back yard. This guide is for manual set-up only. For safety reasons, always use a professional installer for electric gates. Call us on 0800 6124 965 to discuss.
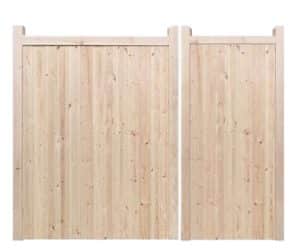
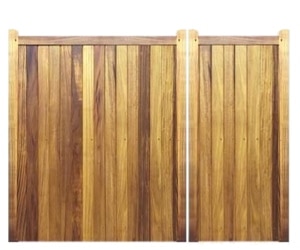
The wooden driveway gate needs to be protected – either with stain and treatment or suitable outdoor paint (if you need to do this, see our “How to Paint or Stain a Gate” guide). This guide will show you how to fit the driveway gate to existing posts or pillars. If you need to install new posts, see our “How to Fit Gate Posts” manual before reading on.
Tools:
- Pencil
- Tape measure
- Straight edge
- Clamps (optional)
- Spirit level or plumb line
- Electric drill
- Spanner or wrench set
- Screwdriver or cordless screwdriver
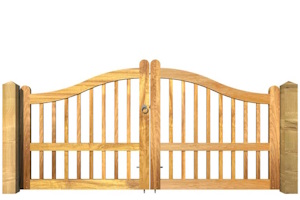
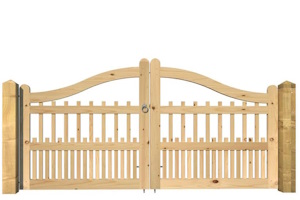
DRIVEWAY GATE BRACING
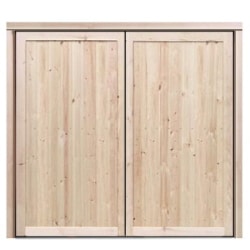
It’s important to understand how the gate will look from the rear and where the gate furniture is positioned. The strength and durability of the driveway gate is based on it’s frame and rear structural bracing. It is crucial the gate is hung correctly. If your new gate has a structural brace style as shown below, make sure you hang to this way. (Depending on gate design, some may have an upside down “V” pattern on each leaf. If this is the case, you are free to hang either side).
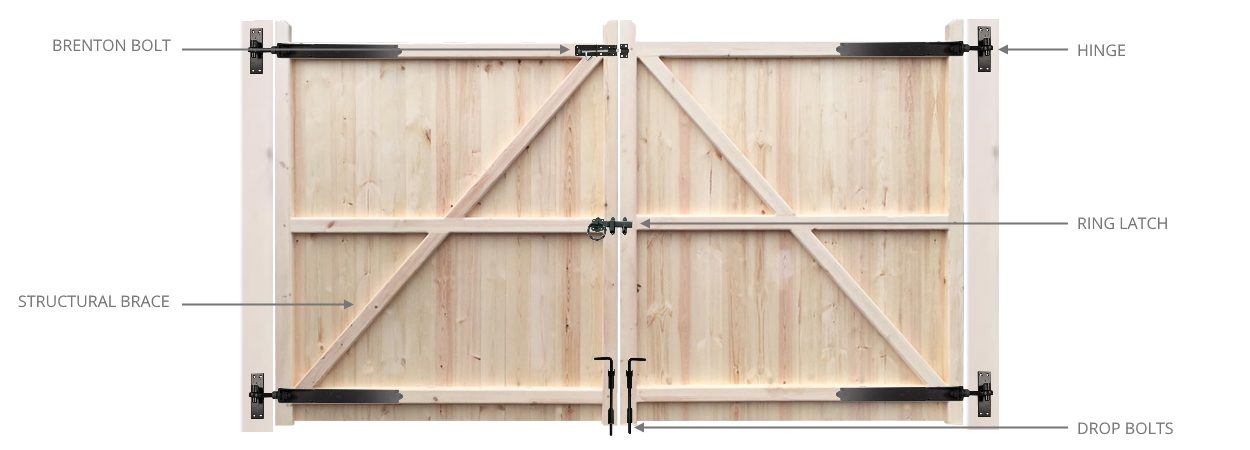
With the hinges being sat on the rear, this driveway gate would open inwards towards the property. If you need to open out, place hinges on front of gate. Please note: you are not allowed to have a gate open on to a highway or pedestrian path. If you need it to open this way, ensure you have adequate room to do so.
HOW TO FIT A DRIVEWAY GATE
First, check you have the minimum required clearance required for driveway gates to work. The opening has to be a minimum of 40mm (1 1/2″) larger than the gate. The gap clearance is 15mm per side (edge of post or pillar to edge of gate and 10mm for centre to allow the gate to open). If you have more than 40mm, take the measurement minus the 10mm centre then divide by two to get the gap for each side.
What hinges to use. We only sell and recommend adjustable hinges. They make the fitting of the gate much easier and also allow you to adjust the gate position as required without removing the gate. If you have purchased these from us, you would have received 4 x hinges (either 24″, 36″ or 48″ depending on gate size).
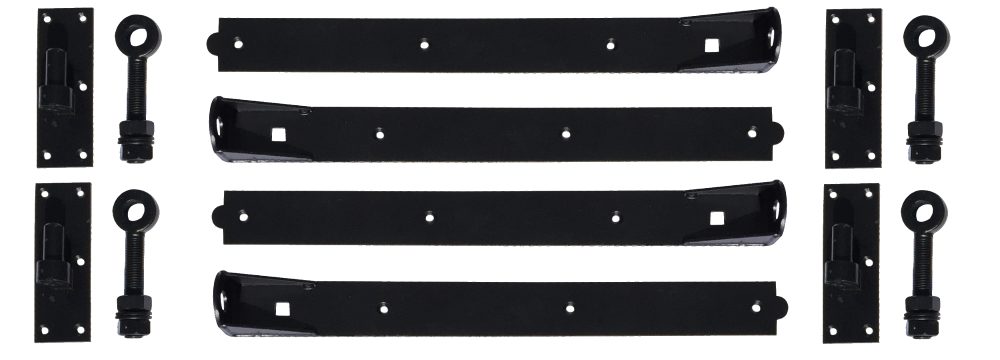
FITTING THE GATE HINGES
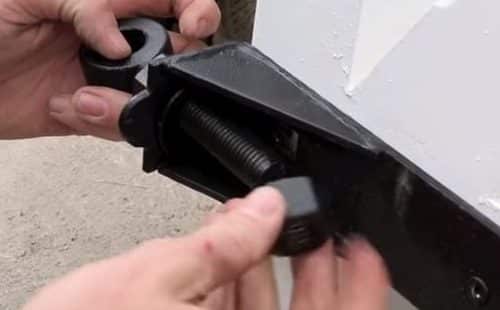
Place the hinge on the horizontal structural brace (hinges to be placed on top and bottom). For looks, centralise the hinge. Mark holes then remove hinge. Drill pilot holes for the screws. Looking at the above image, there is a square opening on the hinge. This is for the dome headed bolt. This bolt has to be drilled through the whole of the gate to allow the “dome” part to be sat on the front. Take great care when doing this. Start by drilling a pilot hole through with a 3mm drill bit. Then increase the size. To prevent the wood from splitting as you go through, drill halfway each side following the guide hole set with the 3mm drill.
Connect the eye bolt to the hinge. One bolt and washer to go either side of the edge of the hinge.
MARKING THE HINGE PLATES
Next, take the hinge plate, place onto eye bolt and calculate the distance from the ground level to bottom of hinge plate and add the ground clearance gap (25mm to 50mm). Now mark on the post the position of the bottom of the hinge plate. Repeat process for the top of the hinge. Place hinge plate on post, mark holes, remove, drill pilot holes and secure in place using screws.
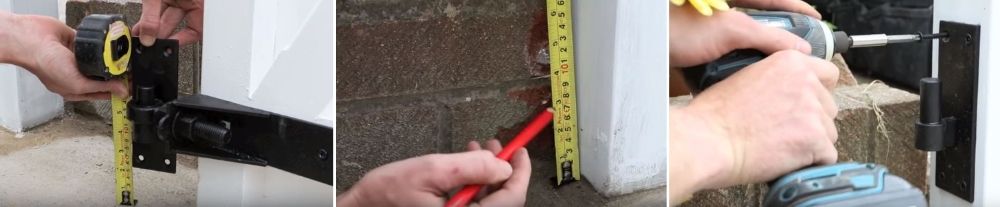
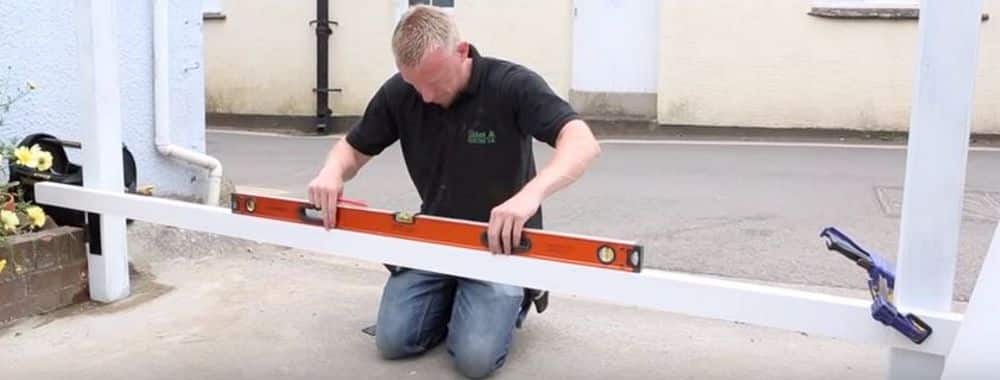
Once you have both hinge plates connected to the post, take a straight edge (long length of timber – may need two together) and span across the opening. Place a level across and mark the position of the hinge plates on the opposite post. Mark holes and screw hinge plates.
HANG THE GATES
Using a second person, lift gate onto the hinge plates.
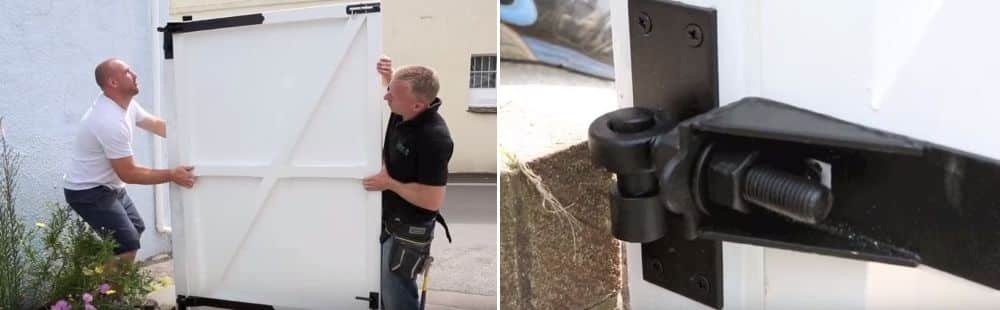
Once both sides are hung, adjust the hinges using the two bolts to align the height and sides. Each side should have an equal gap width with the centre being 10mm. Can take a bit of time to get exact. The gate should now be able to swing open and close freely.
FITTING THE GATE FURNITURE
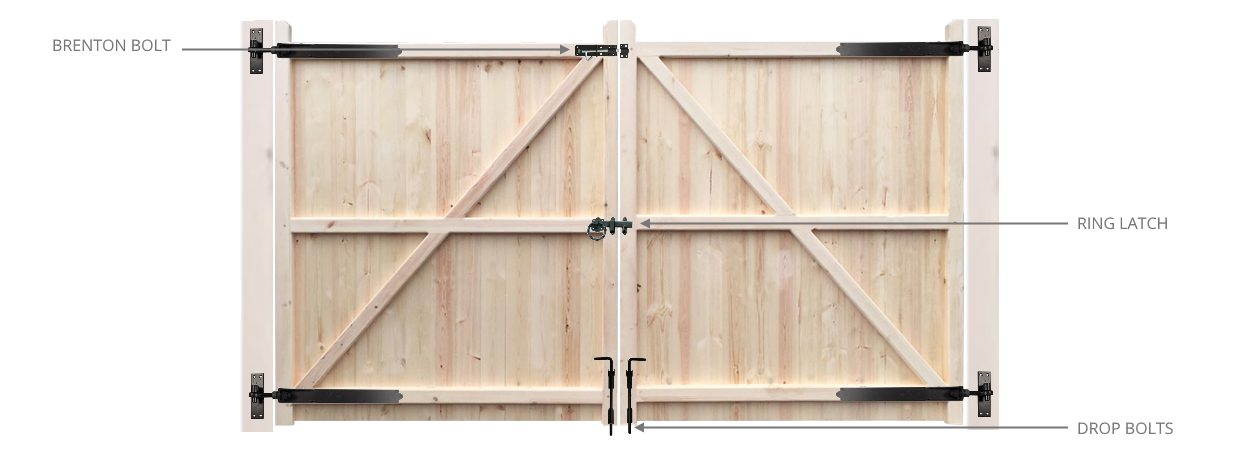
RING LATCH
Comes in five pieces. Ring latch with connected rectangle bar, ring latch, 2 x bar catches and stainless steel bar. If looking at the rear of the gate, if the gate opens inwards towards you the ring latch with the rectangle bar would be on the rear of the gate, if the gate opens away from you, fit to front of gate.

Place ring latch on brace allowing the rectangle bar to protrude 50mm from the edge of the gate.
Mark holes, remove and drill pilot holes. Now you should have 4 holes. Take a ruler and draw a cross to get the centre of the area. This is where the stainless steel bar will connect to the ring latch (on both sides). Carefully drill a pilot hole all the way through the gate. Measure the thickness of the stainless steel bar and take a drill bit larger so that you create a hole for the bar to be able to turn freely. Screw the ring latch to the gate and place the bar in.
Next, slide the holding catch over the rectangle bar, mark, remove, drill pilot holes and fix.
Go to the other side of the gate. Connect ring latch to stainless steel bar, mark holes, remove, drill pilot holes then screw
Close the gate. Position the catch on the other gate for the ring latch to close on to. Mark holes, remove, drill pilot holes and screw to post.
BRENTON BOLT

Select the position (usually best suited on top of the gate). Centralise on the horizontal brace (as looks better), mark holes, remove, drill pilot holes then fix. For added security, add a padlock.
DROP BOLTS
Drop bolts help secure the driveway gate in either an open or closed position. Each drop bolt needs to be fixed to the vertical edge opposite the hinge side (towards the centre of both gates). Position, mark holes, remove, pilot drill holes and secure in place. With the gate in the closed position, release the drop bolt till it hits the floor. Mark the position by drawing a circle around the bolt. Open the gate to enable easier access.
Next, measure the diameter of the bolt and select a drill bit slightly larger. Set your drill to “hammer” mode. Drill a hole to just past the depth required. Take care with this procedure. It is worth checking that no services run underneath! When complete, check and repeat on the other side.
Now fully open the gates to the required position. Repeat the above process so that the drop bolts will hold the gate securely in the open position.
That’s it! Your driveway gate is now fully fitted!